
Why finger numbers are helping me discover my left hand
I’ve just started an online piano course designed to complement the Faber Adult Piano Adventures Book 1. I’m two weeks in, but already I’ve realised something important: finger numbers matter more than I thought.
When I play by ear, I don’t really think about which fingers I’m using, I just reach for the notes. That’s worked for me in the past, but it’s also led to some bad habits: I’ve discovered that I’m not using all my fingers, especially on my left hand.
And now that I’ve started doing some exercises, and I’m actually paying attention to finger numbers, I can feel just how much weaker my left hand is compared to my right.
My left-hand wake-up call

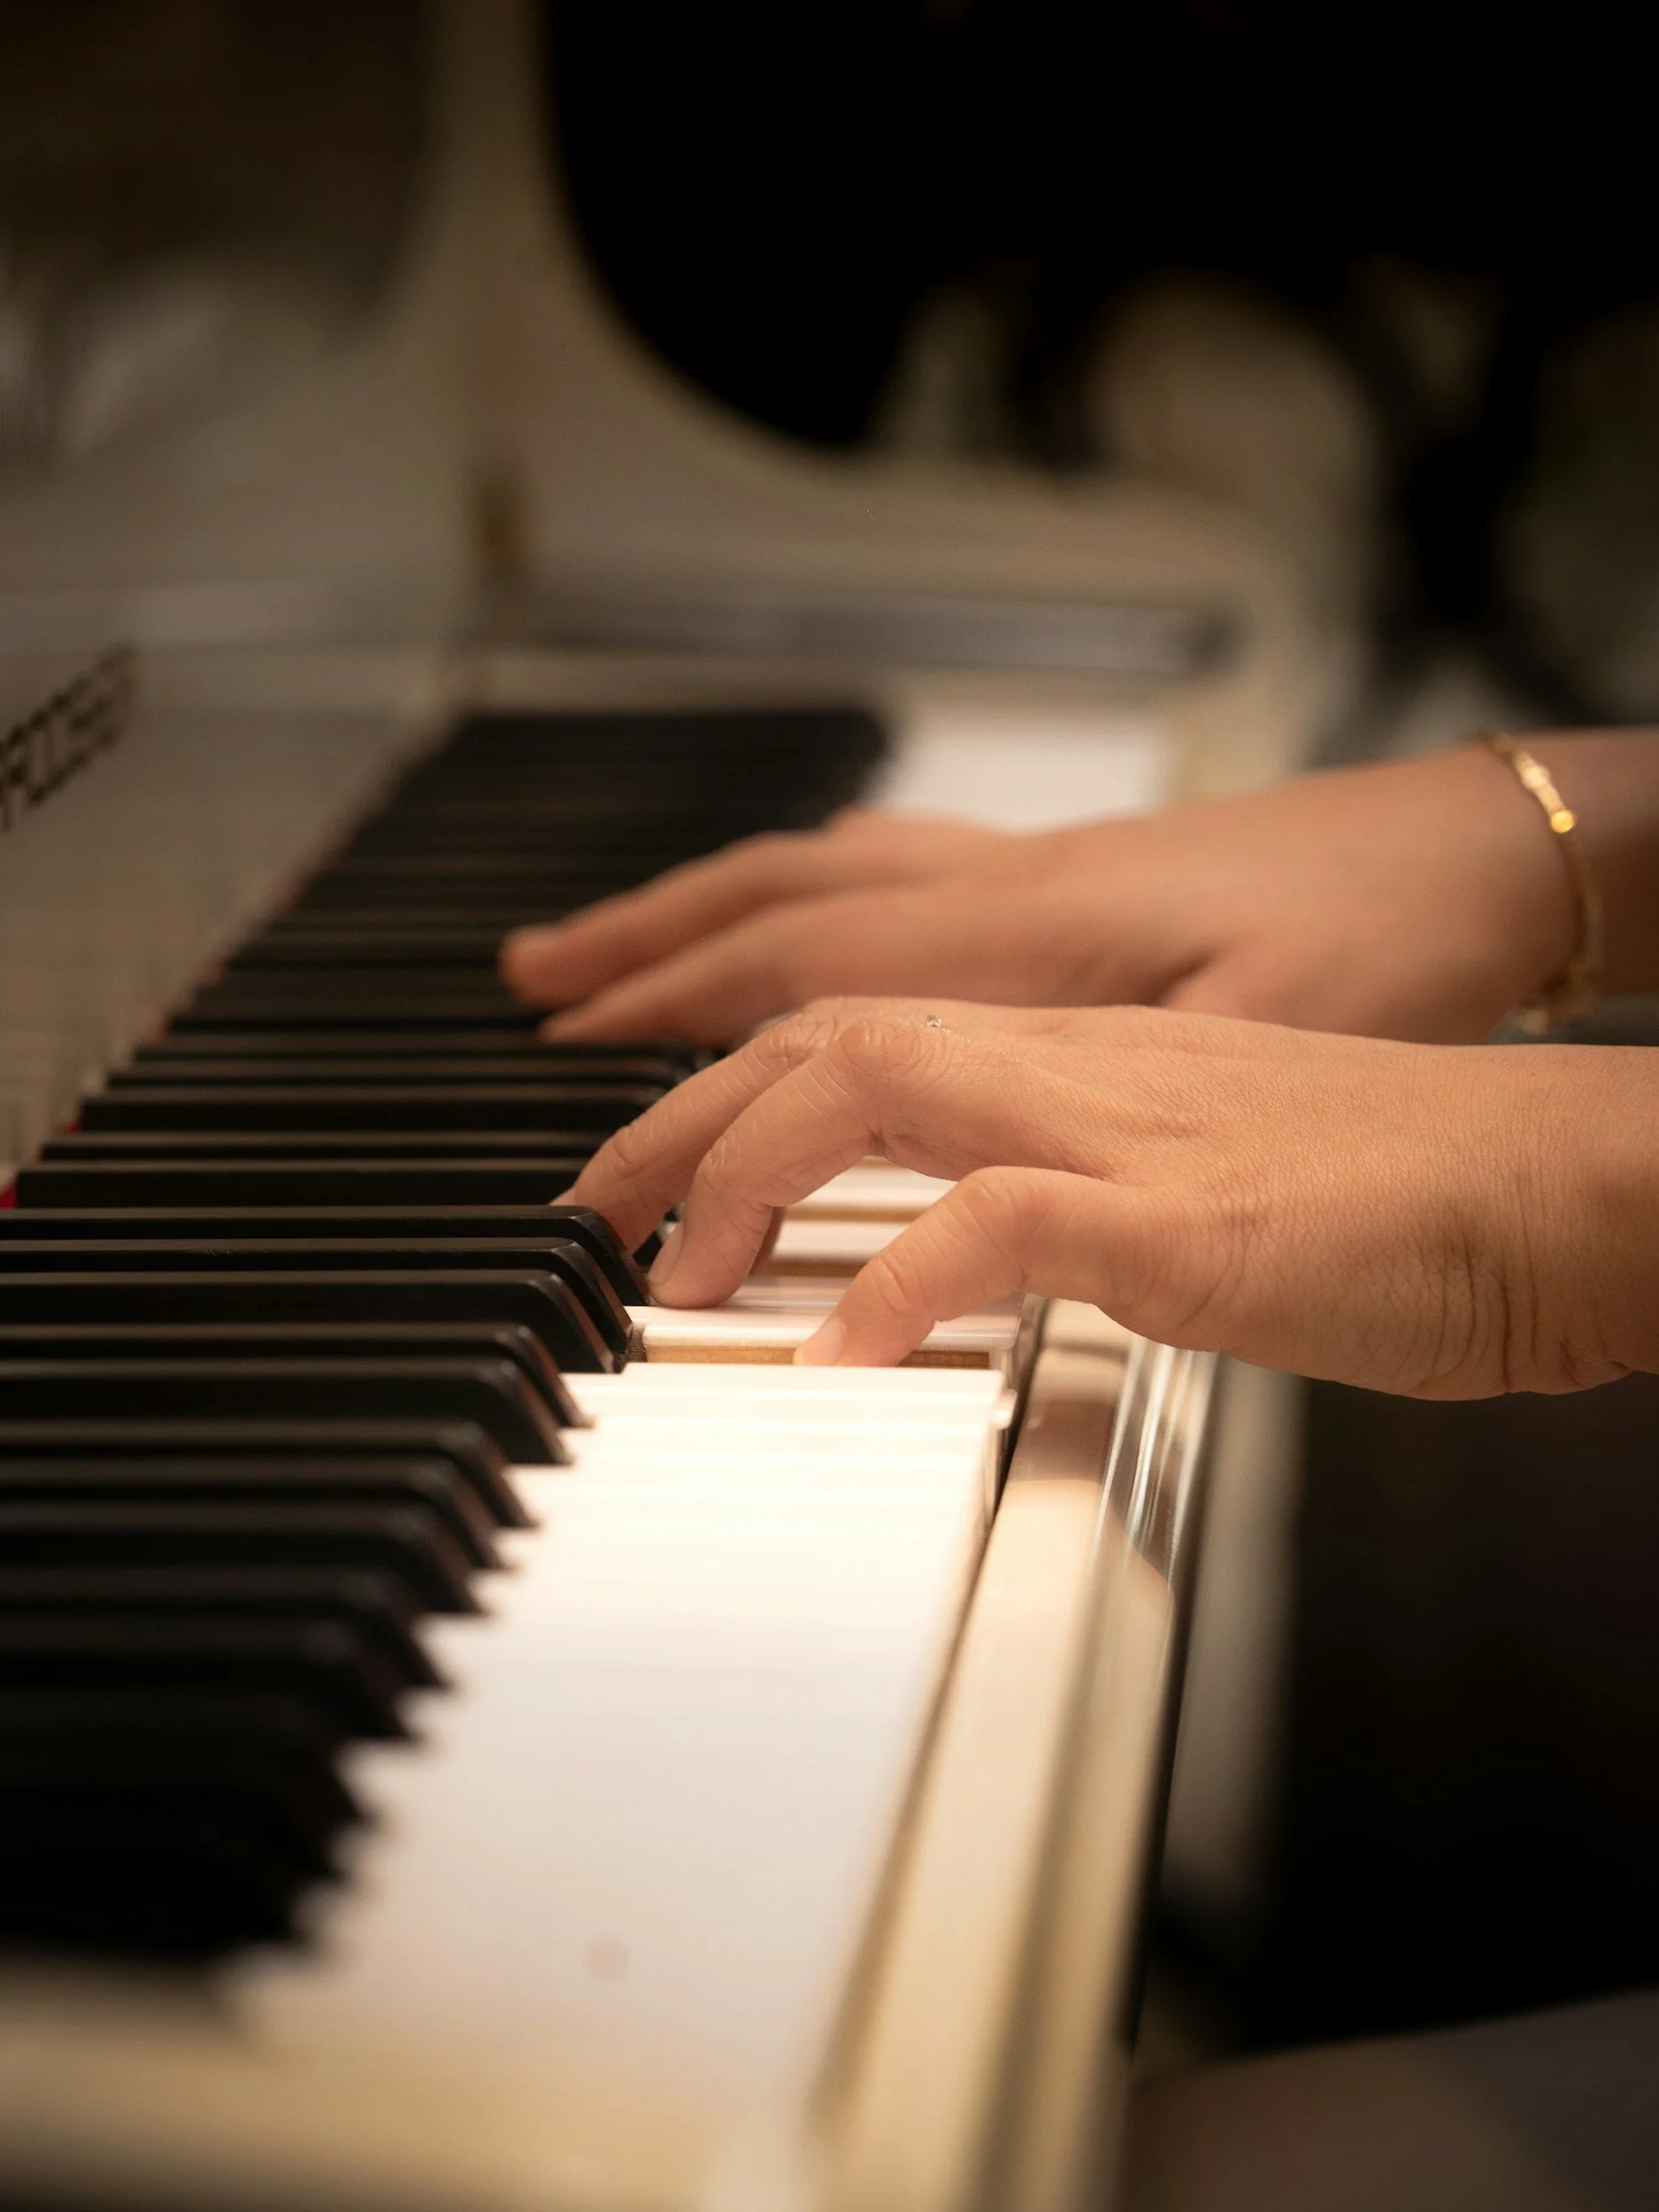
The left hand can seem unsteady when you’re just starting out.
It’s not that my right hand is particularly strong, it’s more that my left hand feels noticeably uncoordinated, especially fingers 2, 3 and 4, which clearly haven’t been pulling their weight over the years.
Most of the time, I’ve been playing chords in my right hand, while my left hand sticks to the root and fifth with fingers 1 and 5, or a simple arpeggio with 1, 2, and 5. That means fingers 3 and 4 on the left have hardly been used at all.
My course has introduced some simple finger exercises, and it’s been a shock (in a good way) to discover how much work my left hand actually needs. The exercises feel awkward right now, but I can already see how they’ll make me a better player. And it feels liberating, as I can see, and feel, a way forward.
Why finger numbers are helping me
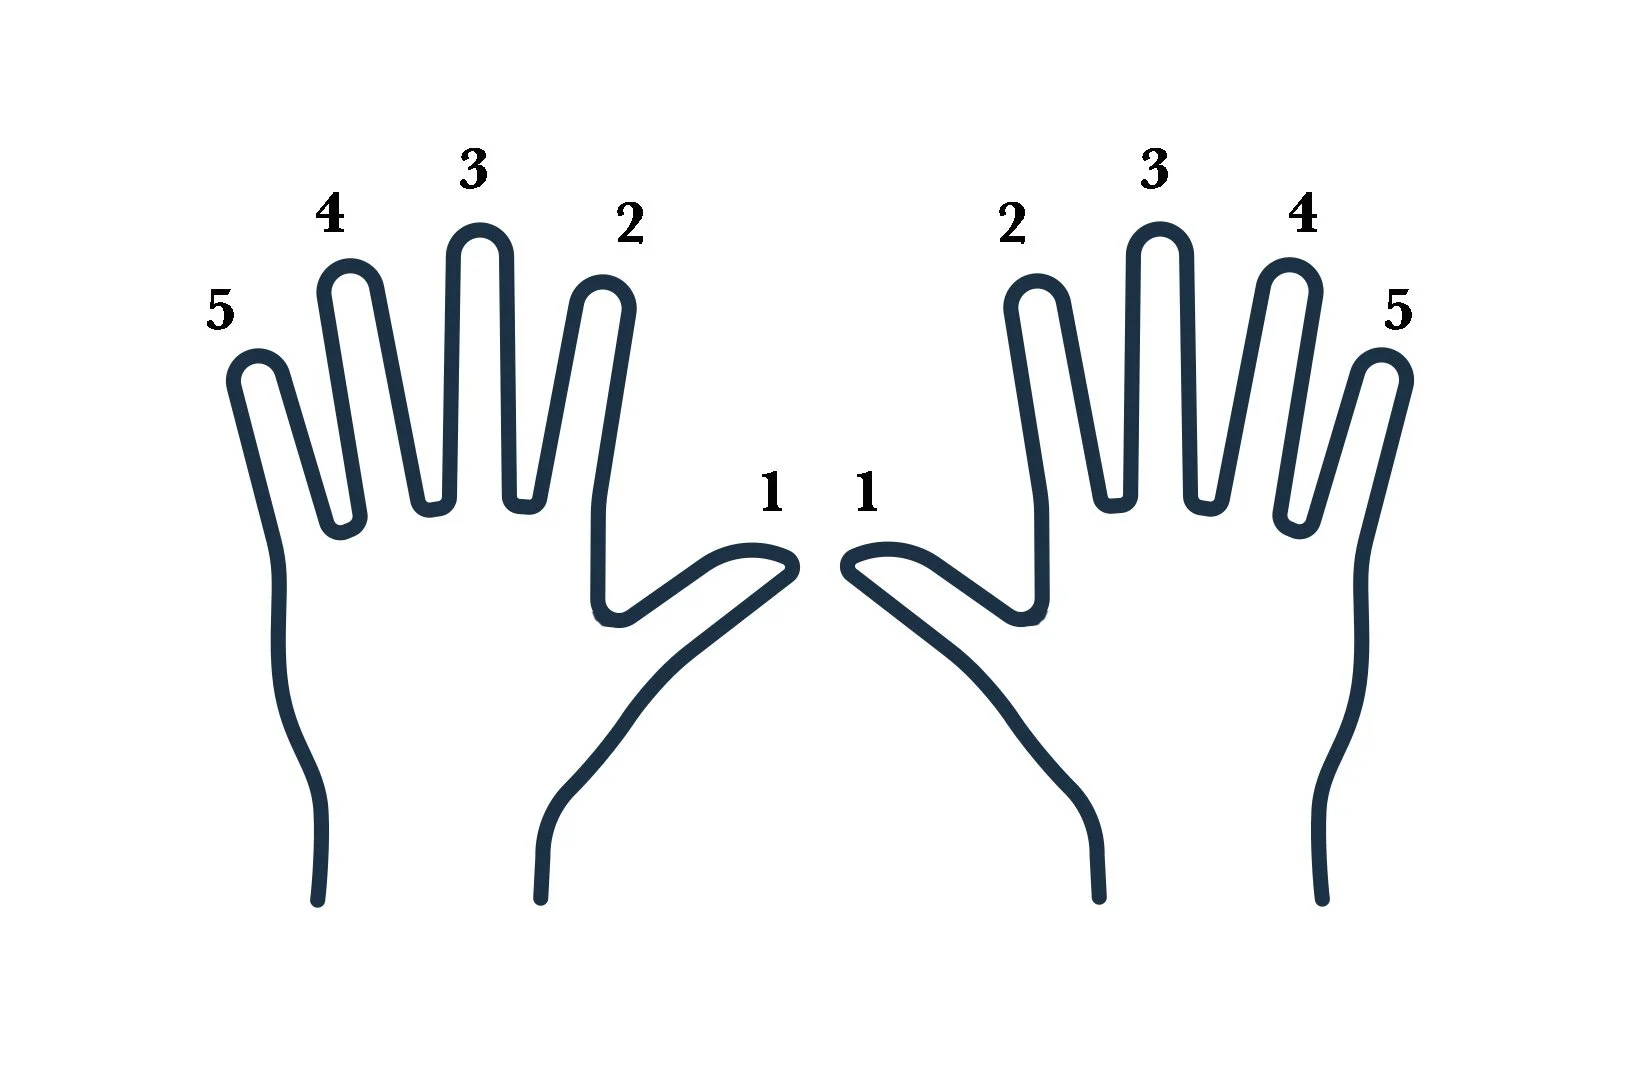
In piano playing, the fingers on each hand are always numbered 1 to 5. These numbers are shown in sheet music to suggest which finger to use for each note, helping with good technique, easier playing, and better expression.
Finger numbers aren’t just a technical detail. They’re a tool that will:
give my weaker fingers their fair share of work (instead of letting the strong ones take over).
keep my hands in the right place so I don’t get stuck halfway through a piece.
help me build better habits, instead of falling back on lazy shortcuts; and
teach my hands to play together, without letting a couple of fingers do all the work.
Try these beginner exercises
Here are some of the beginner exercises I’m working on that are already making a difference. If you’re also trying to build strength and coordination, these are worth a go.
1. The step exercise
This is a zig-zagging pattern that forces every finger to take part. Place your right hand in C position (thumb on C, little finger on G). Play C–E–D–F–E-G using one finger per note.
C (finger 1)
E (finger 3)
D (finger 2)
F (finger 4)
E (finger 3)
G (finger 5)
Now move to the next C up, and repeat, and so on.
Place your left hand in C position (thumb on G, little finger on C). Play G–E–F–D–E-C using one finger per note.
G (finger 1)
E (finger 3)
F (finger 2)
D (finger 4)
E (finger 3)
C (finger 5)
Now move to the next C down, and repeat, and so on.
I’ve really enjoyed this exercise, I’ve been practising it every day and whilst at first it was hard to co-ordinate my fingers correctly, I’m getting better each day. You can also practice both hands together, which is fun.
2. Five-finger scale (pentascale)
Place your right hand in C position (thumb on C, little finger on G). Play C–D–E–F–G and back down again, using one finger per note. Do this slowly in both hands, aiming for even rhythm and tone. This is the foundation for finger independence.
C (finger 1)
D (finger 2)
E (finger 3)
F (finger 4)
G (finger 5)
F (finger 4)
E (finger 3)
D (finger 2)
C (finger 1)
Now move to the next C up, and repeat, and so on.
Place your left hand in C position (thumb on G, little finger on C). Play C–D–E–F–G and back down again, using one finger per note.
C (finger 5)
D (finger 4)
E (finger 3)
F (finger 2)
G (finger 1)
F (finger 2)
E (finger 3)
D (finger 4)
C (finger 5)
Now move to next C down, and repeat, and so on.
3. Mini Hanon pattern
A Hanon pattern refers to an exercise from The Virtuoso Pianist in 60 Exercises by Charles-Louis Hanon (published in 1873). These are short, repetitive finger patterns designed to develop strength, agility, independence, and evenness in the fingers.
Right hand in C position. Play: C–D–E–D–C, then move up one step (D–E–F–E–D), and so on.
Left hand mirrors it.
This gently trains finger control, especially fingers 3 and 4.
4. Finger lifts
Place your hand in C position. Keep four fingers resting on the keys while you lift one finger at a time and tap it gently 5 to 10 times.
This strengthens weaker fingers and teaches control.
My big takeaway
Practising finger exercises will help build strength, control, and flexibility.
The biggest lesson for me this week is that learning piano isn’t just about the notes. It’s about training my hands to move with control and ease.
Understanding the importance of finger numbers (and practising exercises like these) is already making a difference. Progress feels slow but steady, and I know this is the foundation that will make everything else easier later.
If you haven’t tried finger exercises before, give them a go, even just for five minutes a day. You might be surprised at how agile (or not) your fingers really are.
And if your left hand feels clumsy like mine, don’t worry. With a bit of patience and the right exercises, it’ll soon catch up.
Join the conversation
I’d love to hear your thoughts. Questions, reflections and ideas are all welcome. Comments appear straight away, but I’ll remove anything offensive, abusive, discriminatory or spammy. Please keep it respectful and on-topic, so everyone feels welcome. Thanks.